Many websites will say that vCenter 6x requires DNS lookup, but these steps and screenshots prove that you can install a new vCenter 6.7 with only an IP address and no DNS.
Start vCenter install from .iso file using Windows 10
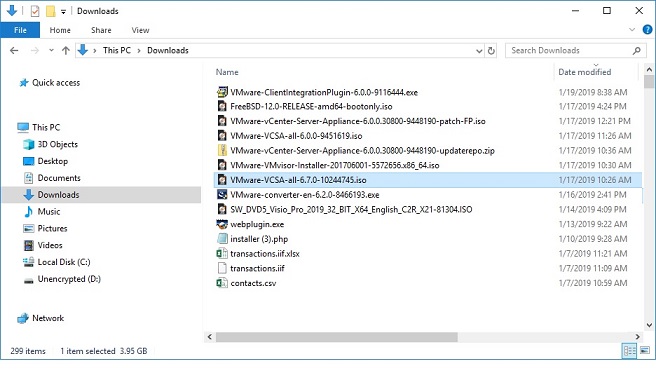
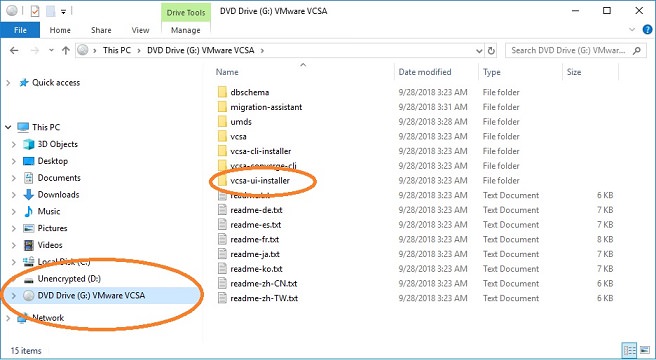
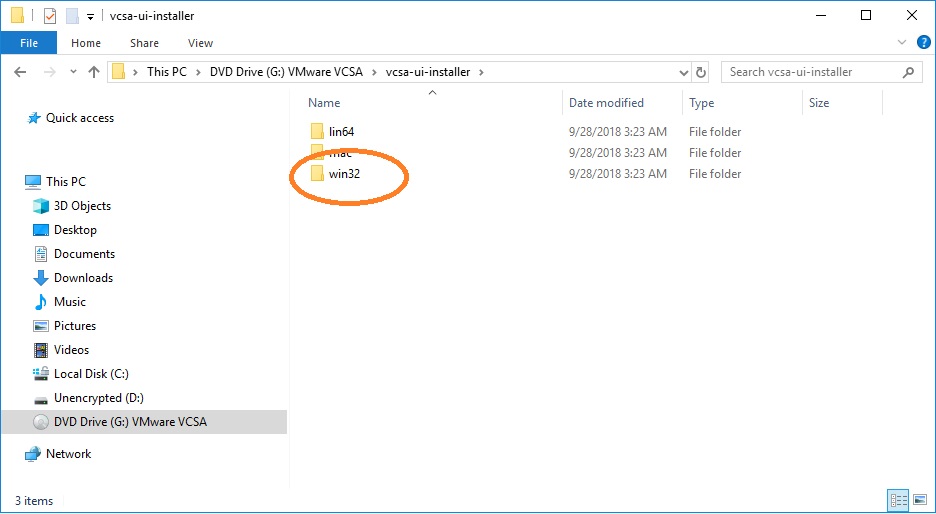
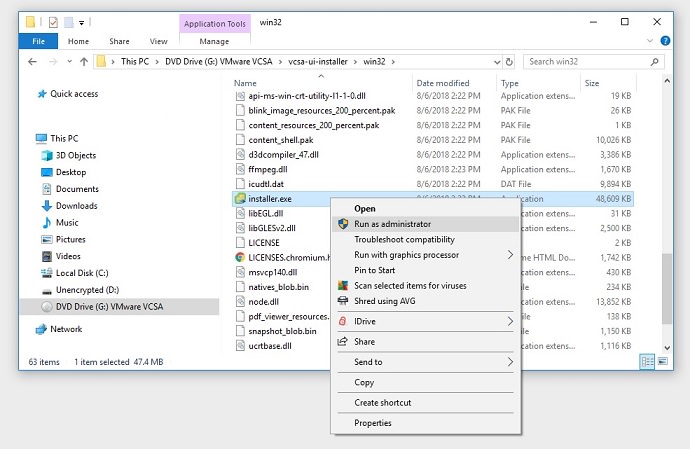
1. Download the install .iso file for your vCenter (available from the downloads area of vmware.com. On a Windows PC (I am using Windows 10), double-click the .iso file to mount it. It will show up in a virtual DVD drive.2. Open your virtual DVD drive and expand the vcsa-ui-installer folder.3. Expand the win32 folder (for a Windows PC). If you are using Linux or Mac as your desktop, select the appropriate folder.4. Run the installer.exe file as administrator (on Windows). This will start the program that allows you to deploy, upgrade, or migrate vCenters.
vCenter install stage 1
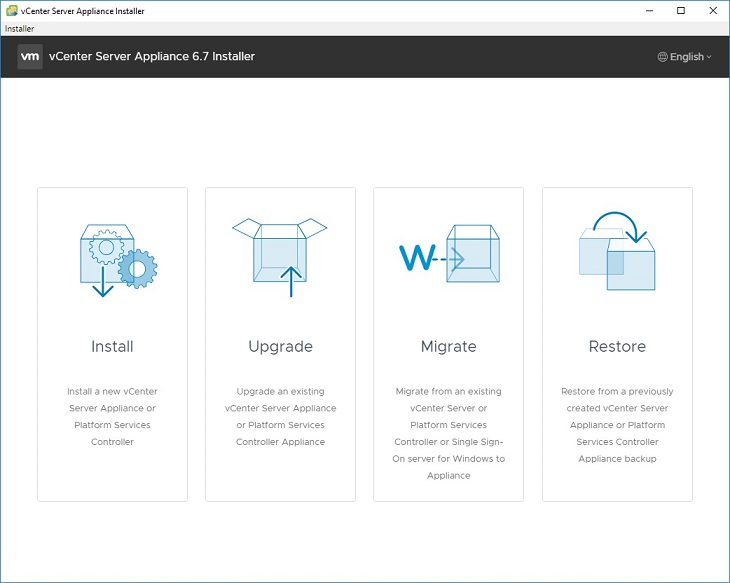
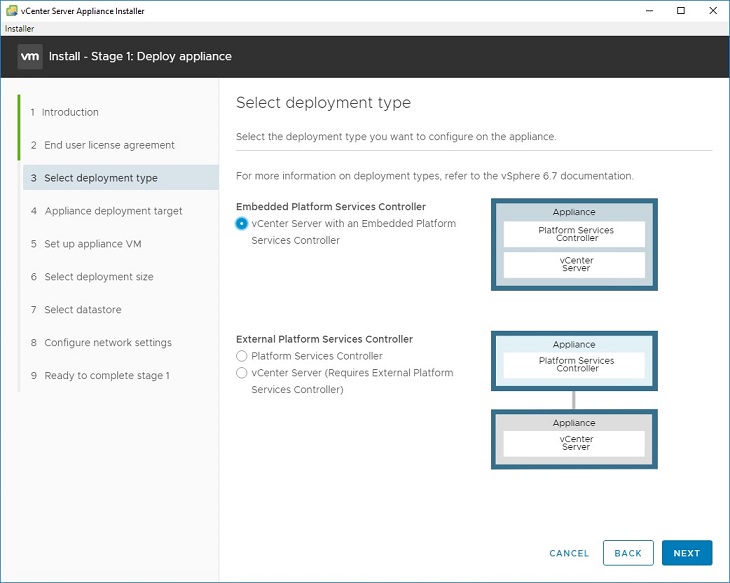
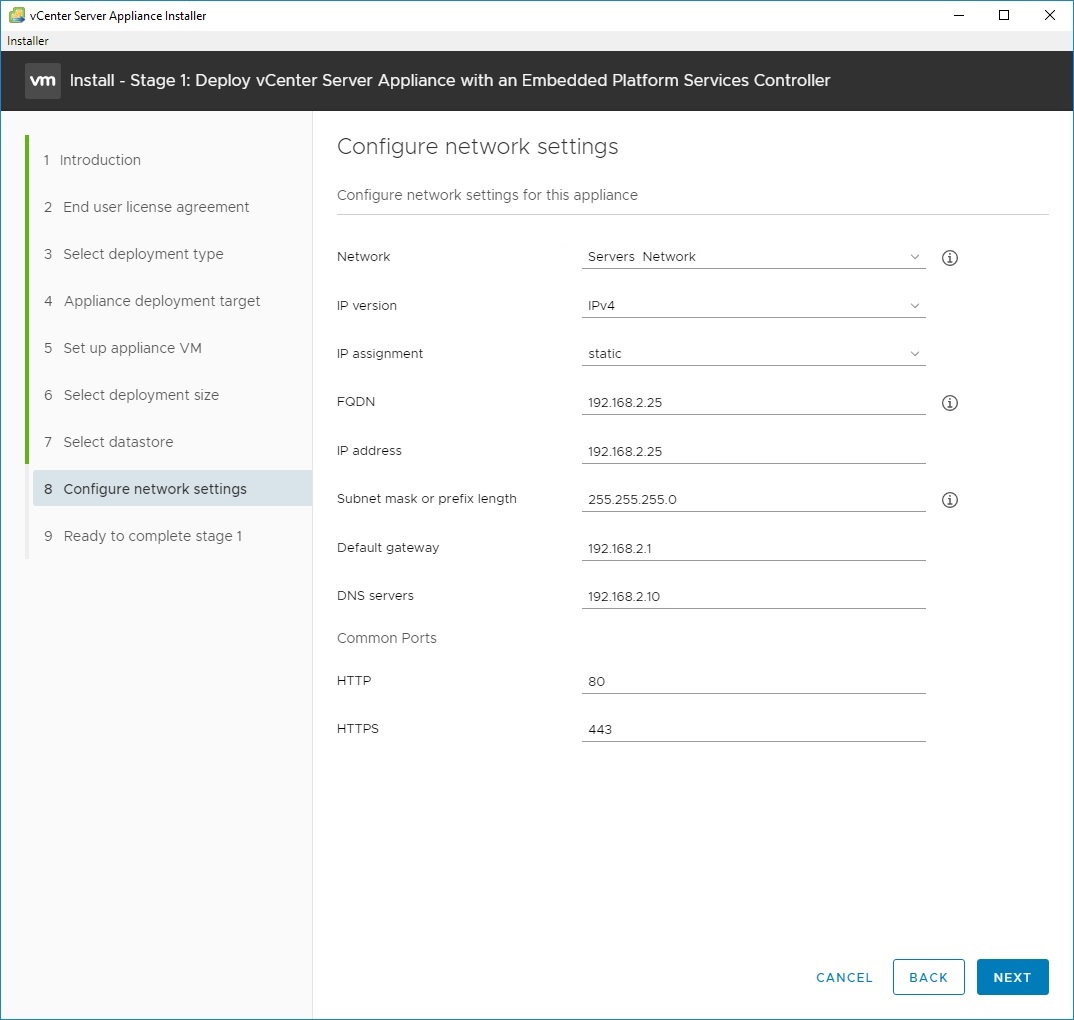
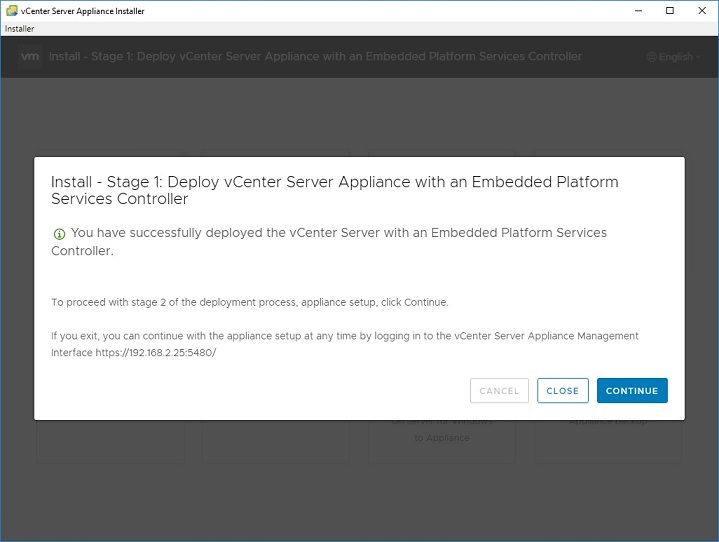
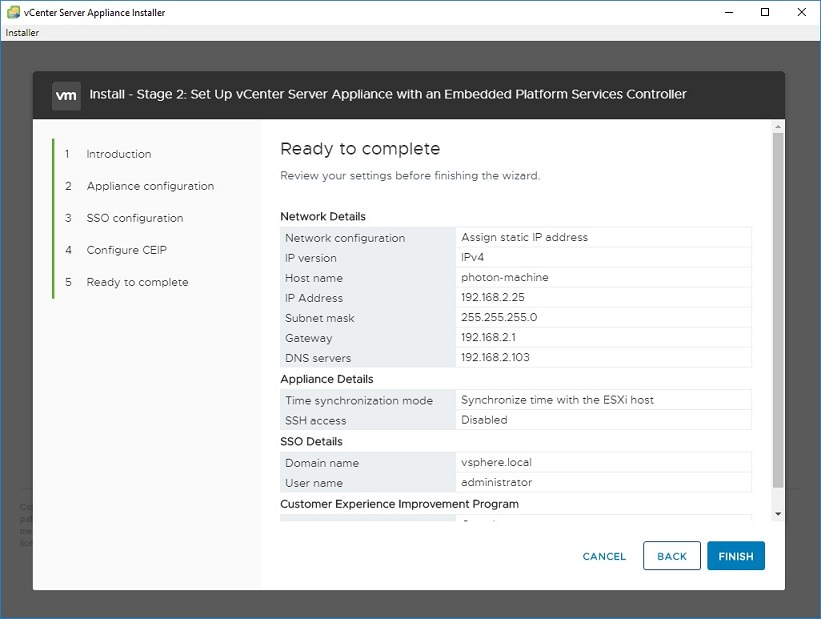
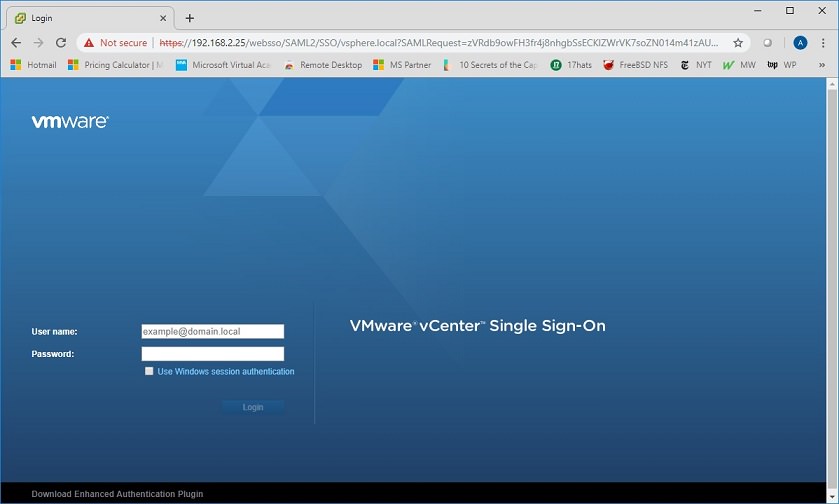
5. Initial options display. In our case, we are installing a brand new vCenter with no DNS, only IP address. So pick Install.6. Go through the introduction and end use license agreement. For the deployment type, select Embedded Platform Services Controller (this is normally the correct choice unless you have a very large, complex environment)7. Normally you will be installing a new vCenter directly onto an ESXi host. Put the IP address of your ESXi host into the “ESXi host or vCenter Server name”. Leave the port 443, enter the correct root account and password for that ESXi host. 8. Configure options for “set up appliance VM” — this gives the name for the VM on your host (and will affect naming of the datastore folders). Set the root password for the vCenter appliance here. Select deployment size – for most situations, the default of Tiny is fine unless you have more than 10 hosts. Select datastore – pick the datastore to create the VM into.9. Configure network settings: Here is the important part. Network should be a virtual port group (switch) that your desktop can communicate with. IP assignment should be static. In the FQDN field, enter the IP address of your vCenter server. In the IP address field, enter the IP address of your vCenter server. Enter the rest of the fields as appropriate for your environment. If you don’t have a DNS server at all, use your gateway or another bogus IP.10. Confirm your settings and start deployment. For me, I was able to complete Stage 1 in about 15 minutes, despite using a slow (100mbps) network.
vCenter installation stage 2
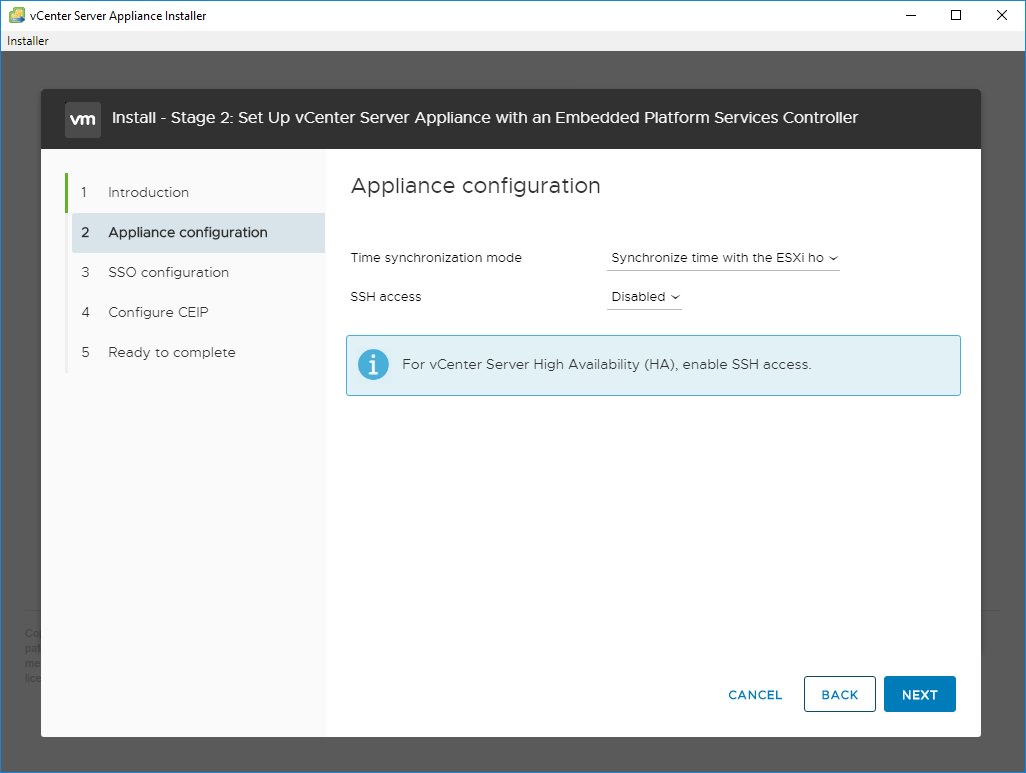
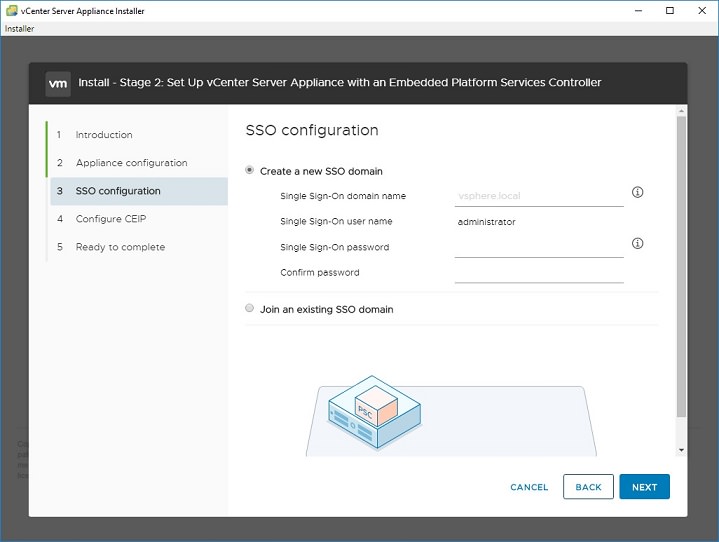
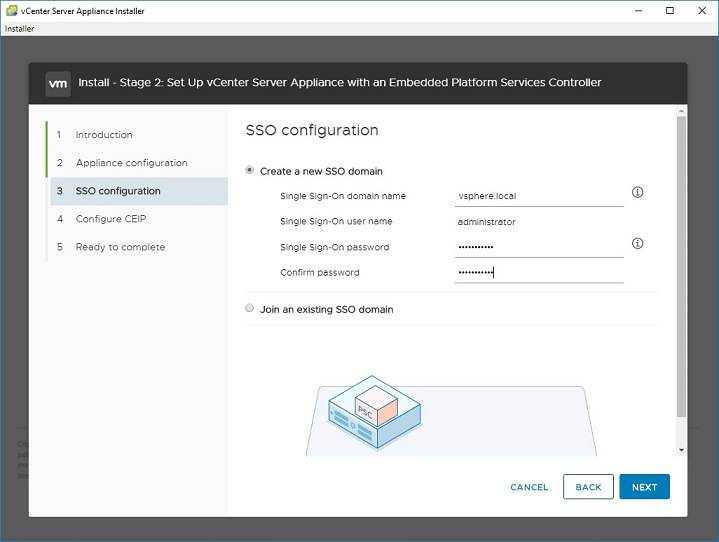
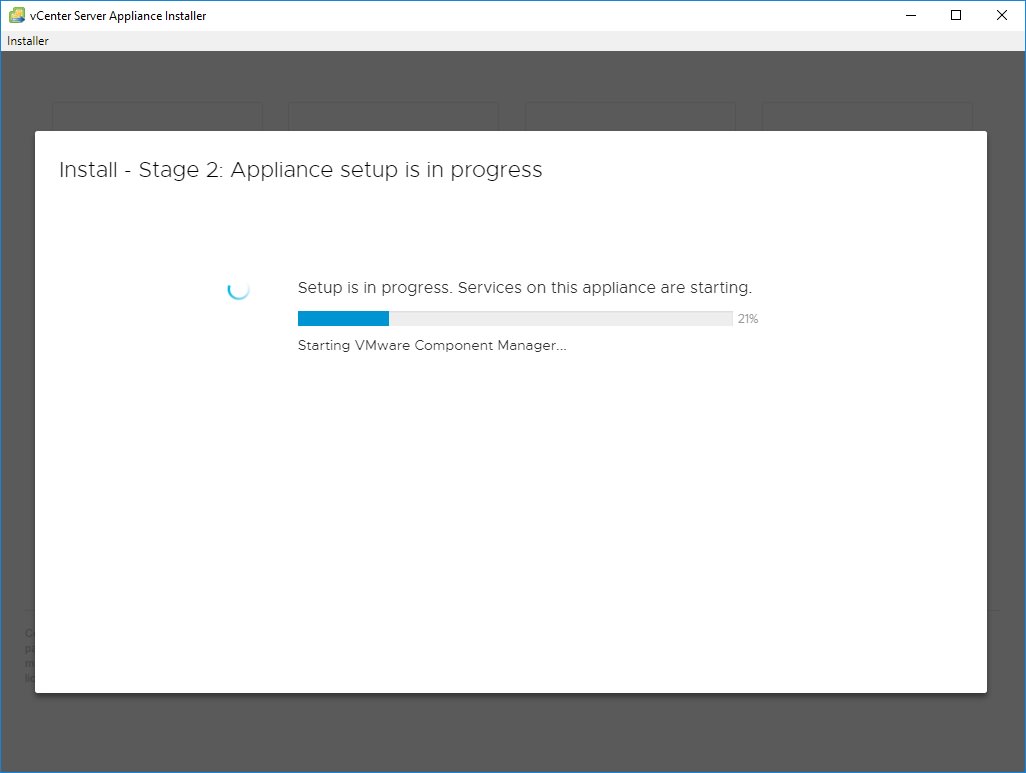
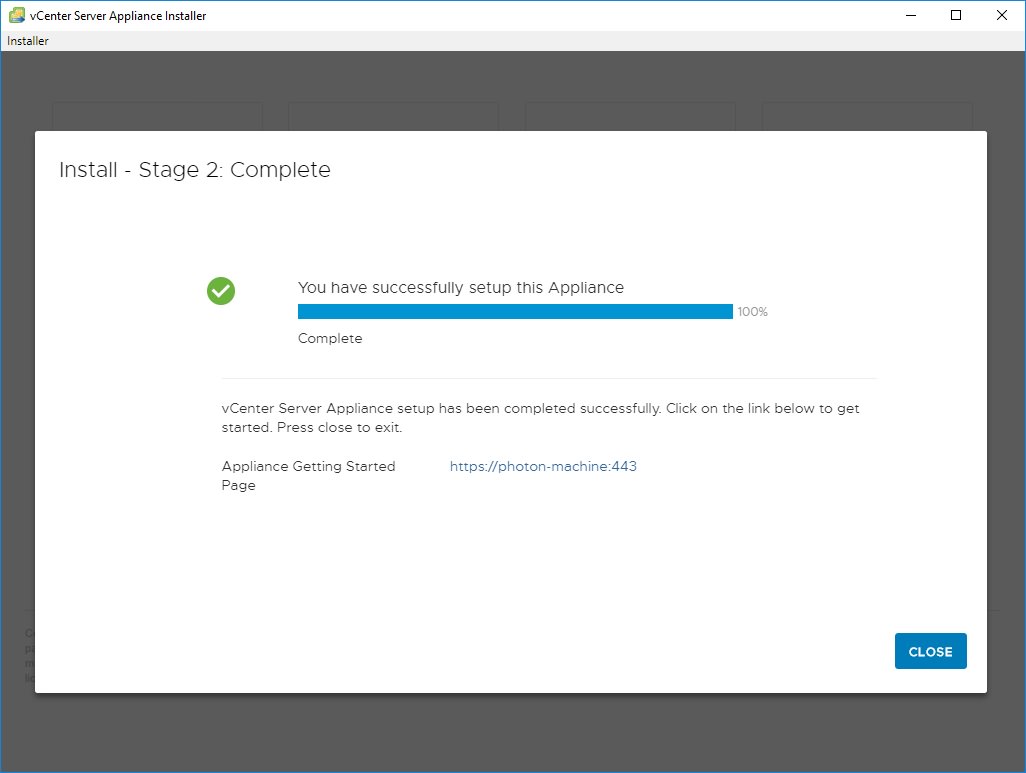
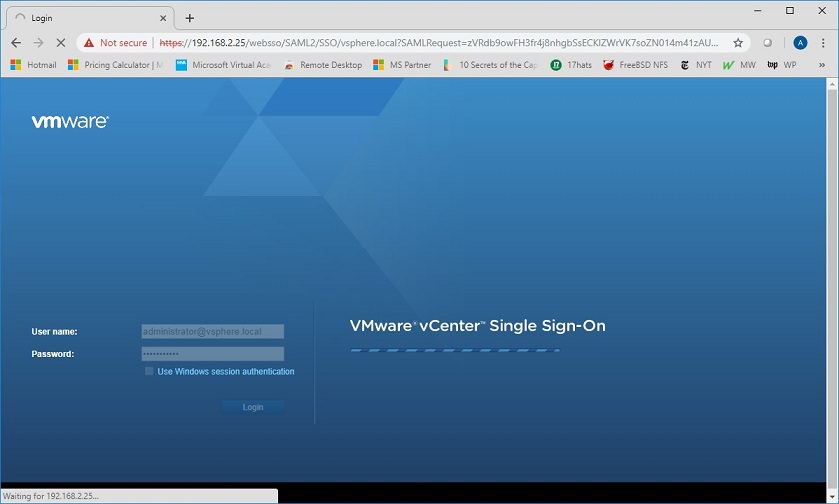
11. Stage 2 starts. If you have an NTP server, set it here, otherwise make sure your ESXi host has correct time and use it.12. Most deployments create a new SSO domain.13. Enter “vsphere.local” into SSO domain name, enter a password for administrator. Your logon username will be administrator@vsphere.local with the password you set.14. Select whether you want to participate in the Customer Experience Improvement Program (secure facilities say no). Then review your settings and Finish to start configuration.15. How long does it take to complete Stage 2, Appliance setup? For me, it took 10 minutes. If it takes more than 45 minutes, your deployment is probably failing.16. Stage 2 completes. Note that the link assumes you are using DNS. It won’t work unless you have updated your HOSTS or put an entry into your DNS server. Since we are avoiding DNS, lets just say it won’t work.
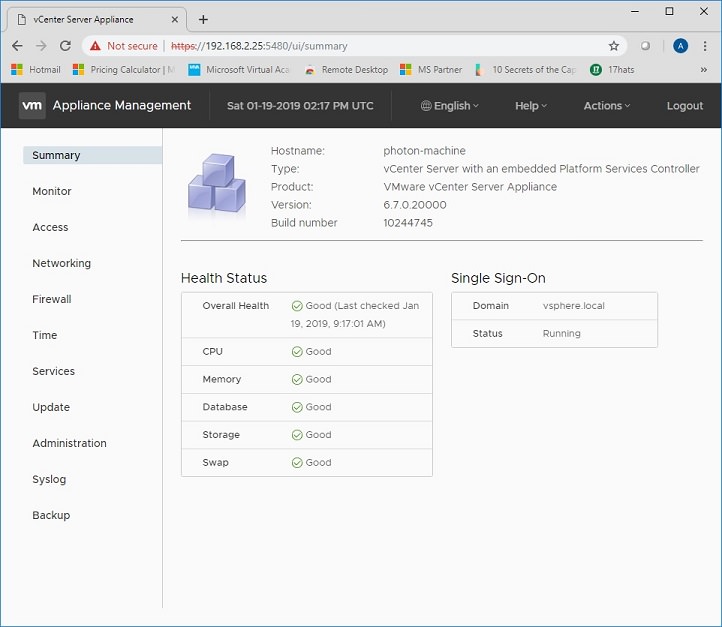
Now to connect to your new vCenter VCSA without DNS..
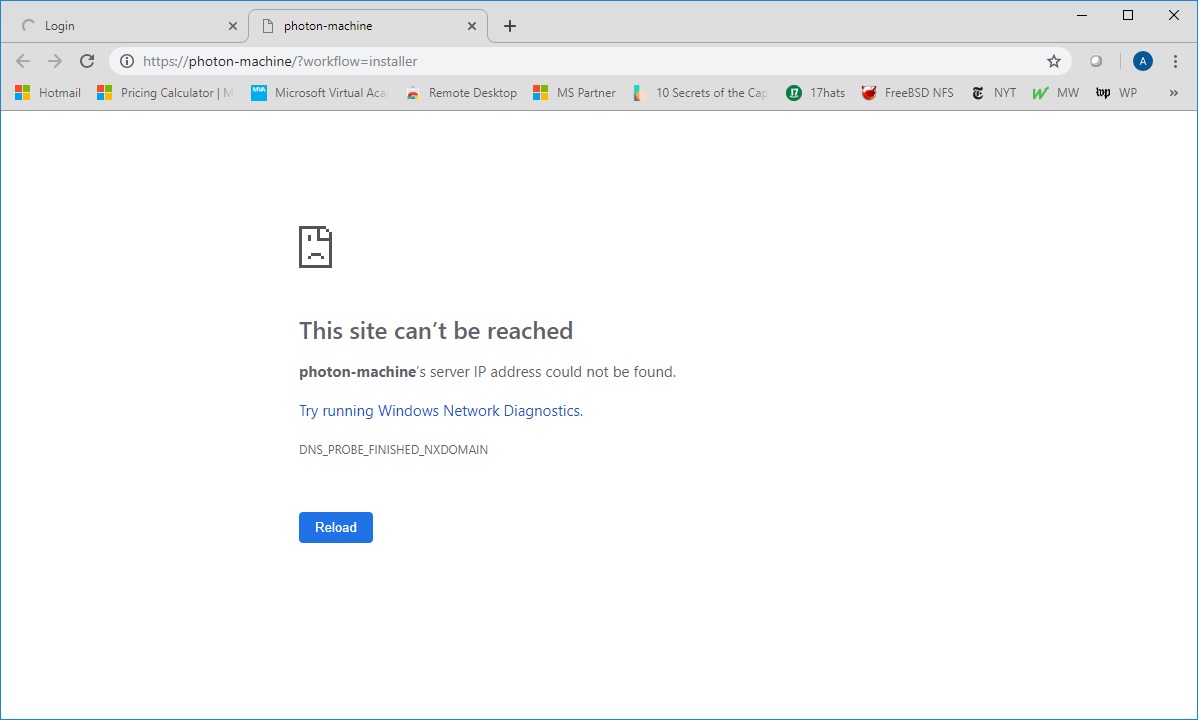
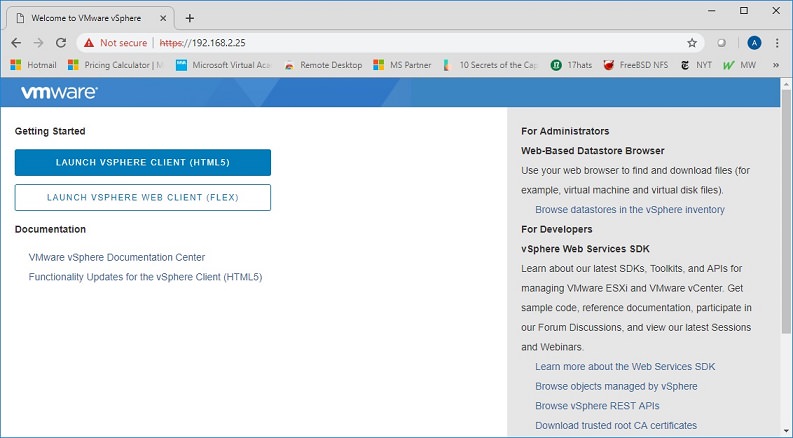
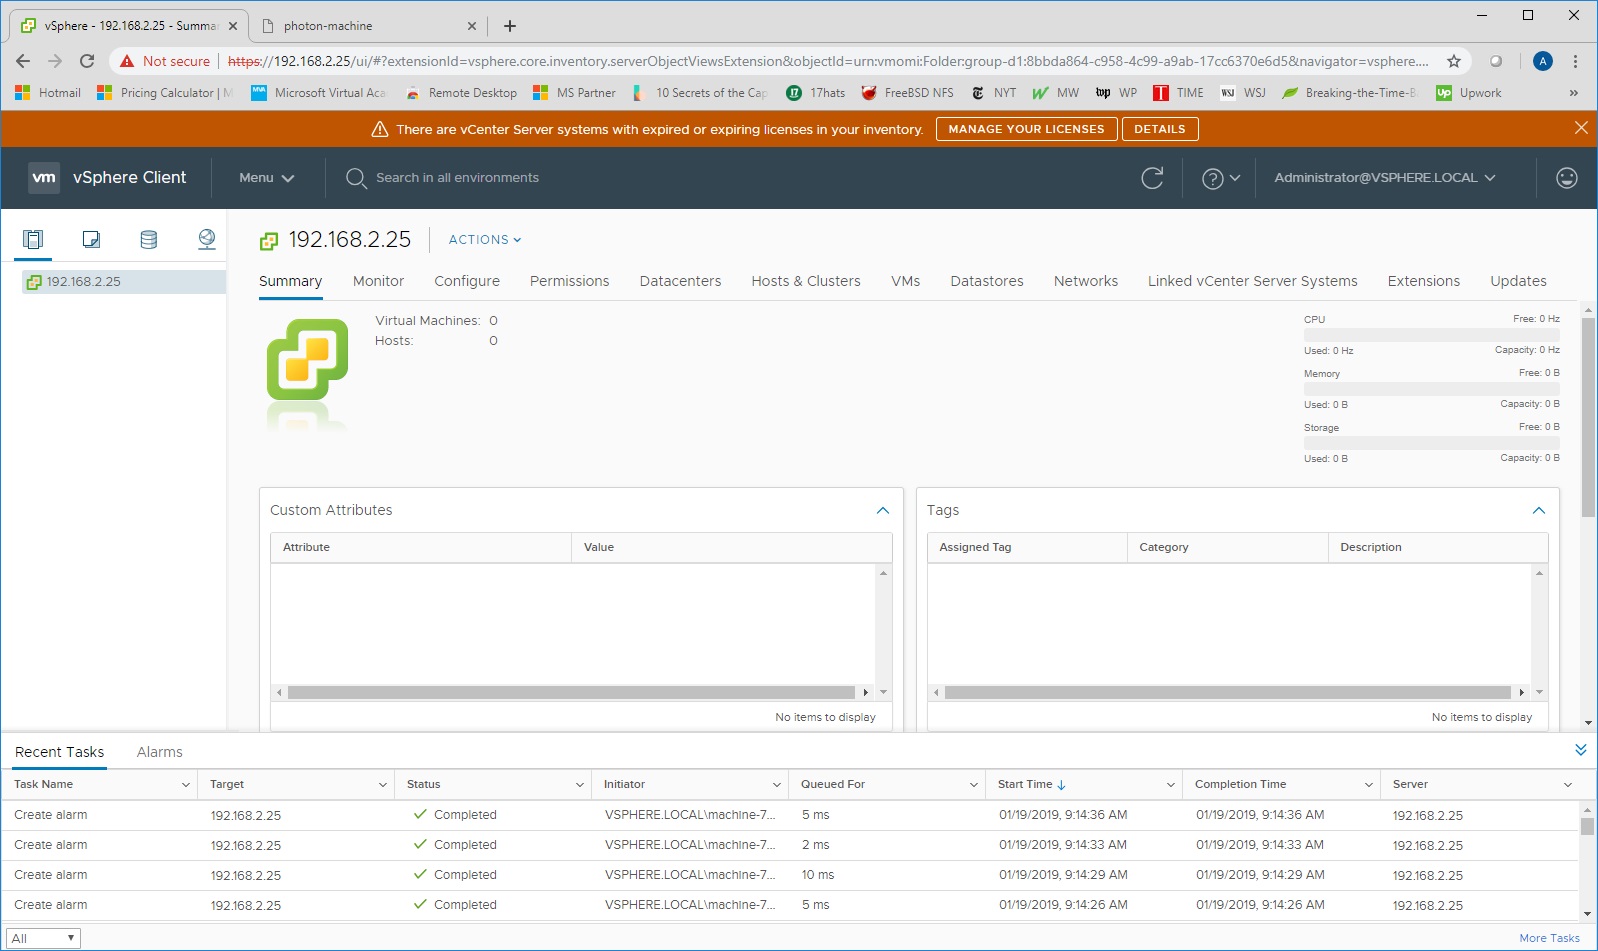
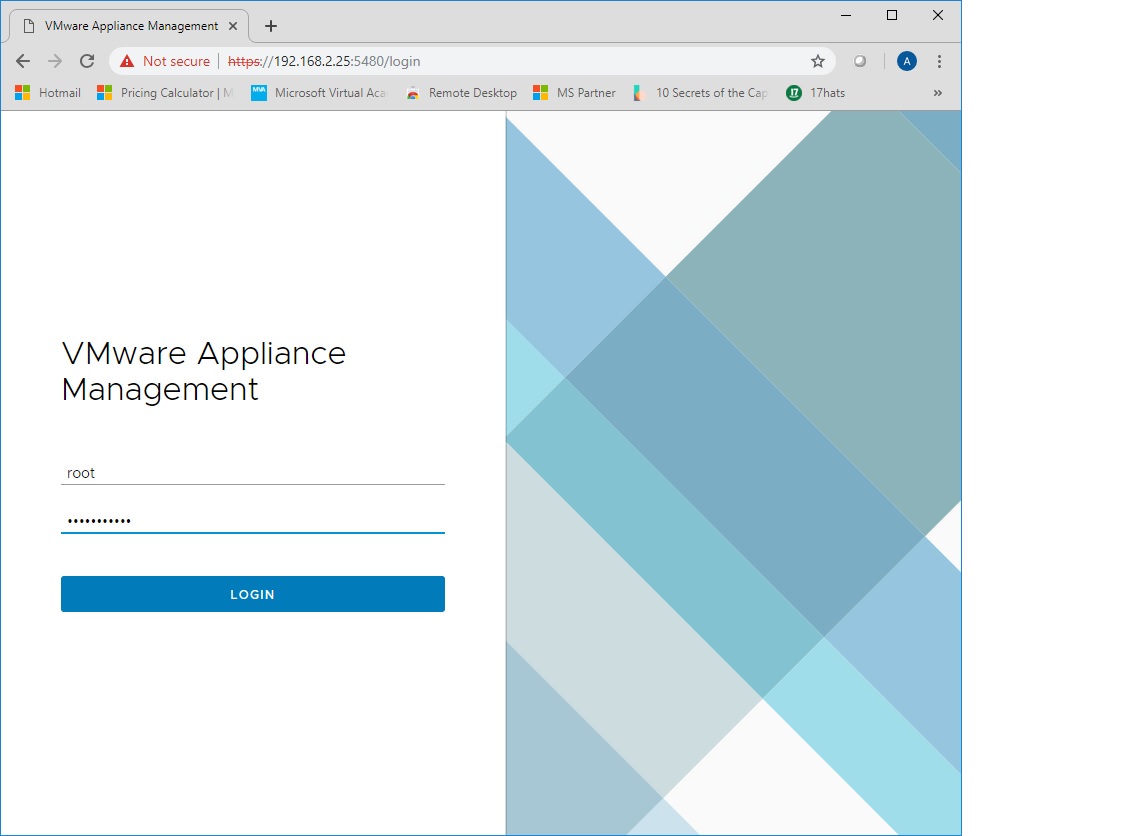
17. As you can see, if you don’t have DNS and just click the link, the page won’t open.18. Change the URL to the IP address of the vCenter server. Now the page displays.19. If you follow the “Launch vSphere client HTML5” link, or simply enter the URL https://vCenter_IP/vsphere-client , the vCenter logon page will display.20. Enter administrator@vsphere.local and the password you set in Step 13. Make sure you have Flash enabled on your browser.21. The vCenter page will open successfully with no DNS.22. How to access the VCSA appliance to perform management functions? Use the URL https://vCenter_IP:5480 and log on with root and the password you set in Step 8.23. Here is the management website for the VCSA
Selfish plug time (sorry!)
Thanks for reading this article! I hope it helps you! If you have tips or feedback, please comment or send me an email so that others can benefit. I am a consultant in the Maryland/DC area in the USA. My specialties are Windows migrations (to 2016 and to Office 365 / Azure), VMware migrations, Netapp and SAN, and high availability / disaster recovery planning. If you would like help with your complex project, or would like a architectural review to improve your availability, please reach out! More information and contact can be found on the About page. – Amira Armond
Solution: Frustratingly, to get this alarm to go away, you do need to add hard drives to the licensed limit (3.5 TB in my case). I could not find any way to clear or acknowledge the alarm.
BUT, if you are using a virtualization solution, you CAN use thin provisioning to keep the size low. Don’t worry, when you configure your quota limits in the next section, you can set how much disk space will be used.
To do this, shut down the FortiAnalyzer. Add the virtual hard drives using your virtualization manager. Turn the FortiAnalyzer back on. Once it finishes booting, log onto the admin website and access the CLI window.
Enter command execute lvm extend . Reboot again if told to.
But… you will still have a problem with log retention…
The next configuration problem with the FortiAnalyzer virtual appliance: Quota limits
FortiAnalyzer does not automatically allocate available disk space for log storage.
Symptom: When you try to run reports, there is very little historical data. Or no data from yesterday or before.
Symptom: FortiAnalyzer is overwriting old report data.
Symptom: You have to run a report from the last few hours to get a result.
This is because the quota is tiny, so the device is automatically overwriting historic logs.
In the event log on a newly deployed appliance, you will see these errors:
“Quota for adom root has reached 90 percent of total 1000(MB)”
The Fix:
Go to System Settings > Storage Info > Edit Root > change maximum allowed disk from 1000 MB to slightly less (or equal to) your “Out of Available” total. For example, you might change this value to 2.8 TB. If you don’t want to use your entire disk ( for example, you thin provisioned it to 3.5 TB but only want to use 1TB), then set the Maximum Allowed to 1 TB.
Other setup that isn’t addressed in the quick start guide…